
Home / Puzzle guide: choose, complete and enjoy your puzzle / How to start a puzzle
How do you start a puzzle when you have a box and a pile of pieces? Prepare a suitable place, understand the image and find a recognisable detail. Your first aim is to make the project approachable rather than prove your speed or choose a perfect method immediately.
This guide covers the first sessions of a traditional jigsaw puzzle, from choosing a surface to assembling a recognisable section. It distinguishes essentials from optional accessories. For three-dimensional puzzles or other unusual constructions, follow the product’s specific instructions first. For a picture puzzle, develop a simple start and adapt it as you learn the image. Decide where to work and how to find your pieces again after a break.
Consider the criteria and adapt the approach to your project.
Weigh up the options and preserve what the experience means to you.
Before emptying the box, check the finished dimensions on the packaging. Your surface needs room for the image and for loose pieces. A table entirely filled by the finished puzzle forces pieces to overlap or be kept elsewhere. If using a dining table, plan how to clear it without lifting the puzzle by hand.
Choose a stable, flat, clean surface. A suitable rigid board should be large enough for the actual dimensions. Even lighting helps you compare colours and details. Move drinks away, keep the reference picture visible and protect unattended pieces from pets and small children. Preparation should remove obstacles without becoming a project of its own.
Describe the scene briefly. Where are distinct colours, faces, windows, lettering and clear outlines? Which parts repeat? These questions create a map: buildings, vegetation and sky in a landscape, or figures, clothes and changing light in a painting.
Keep the box or poster easy to see and alternate between the whole picture and individual details. A blue piece could belong to sky, clothing or a reflection, so colour alone may be insufficient. For a nearly uniform image, look for lines and transitions rather than expecting immediately distinct groups. Your starting point can be small, provided you can recognise it.
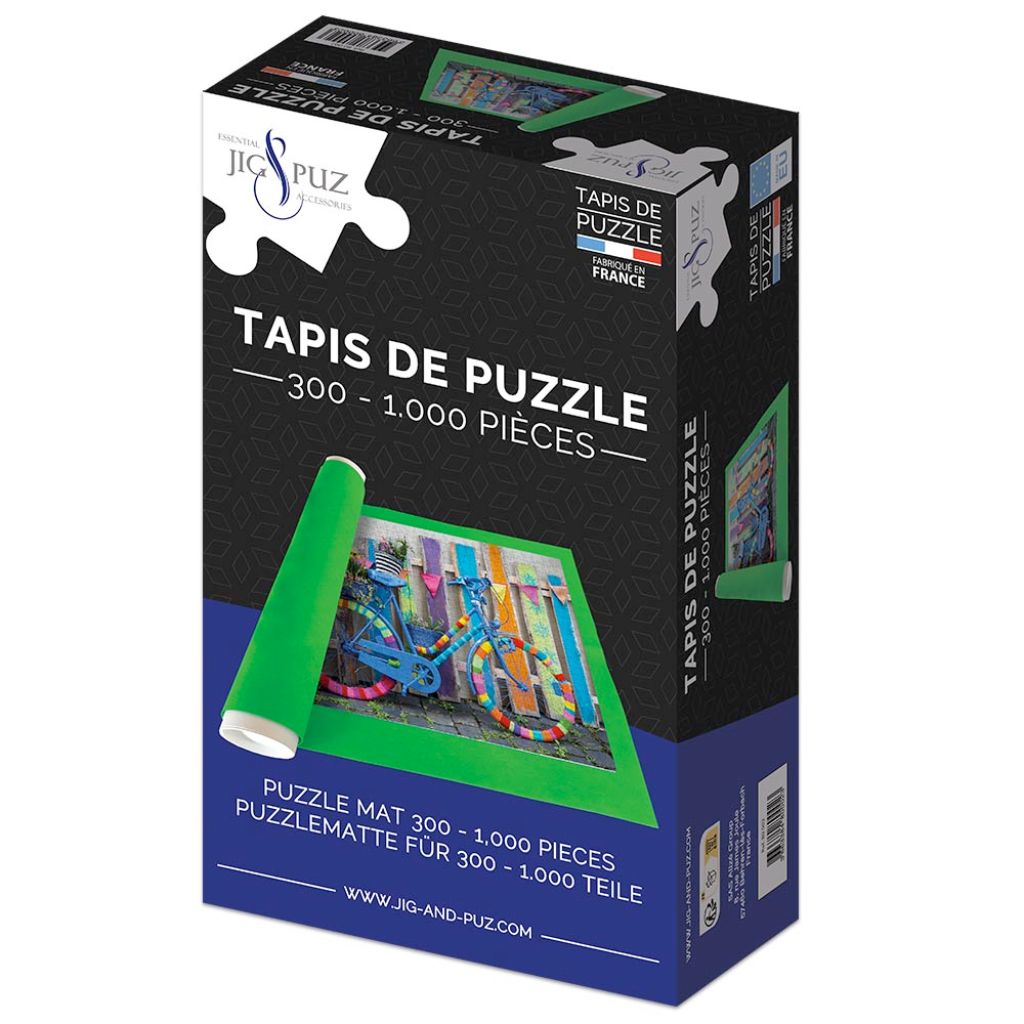
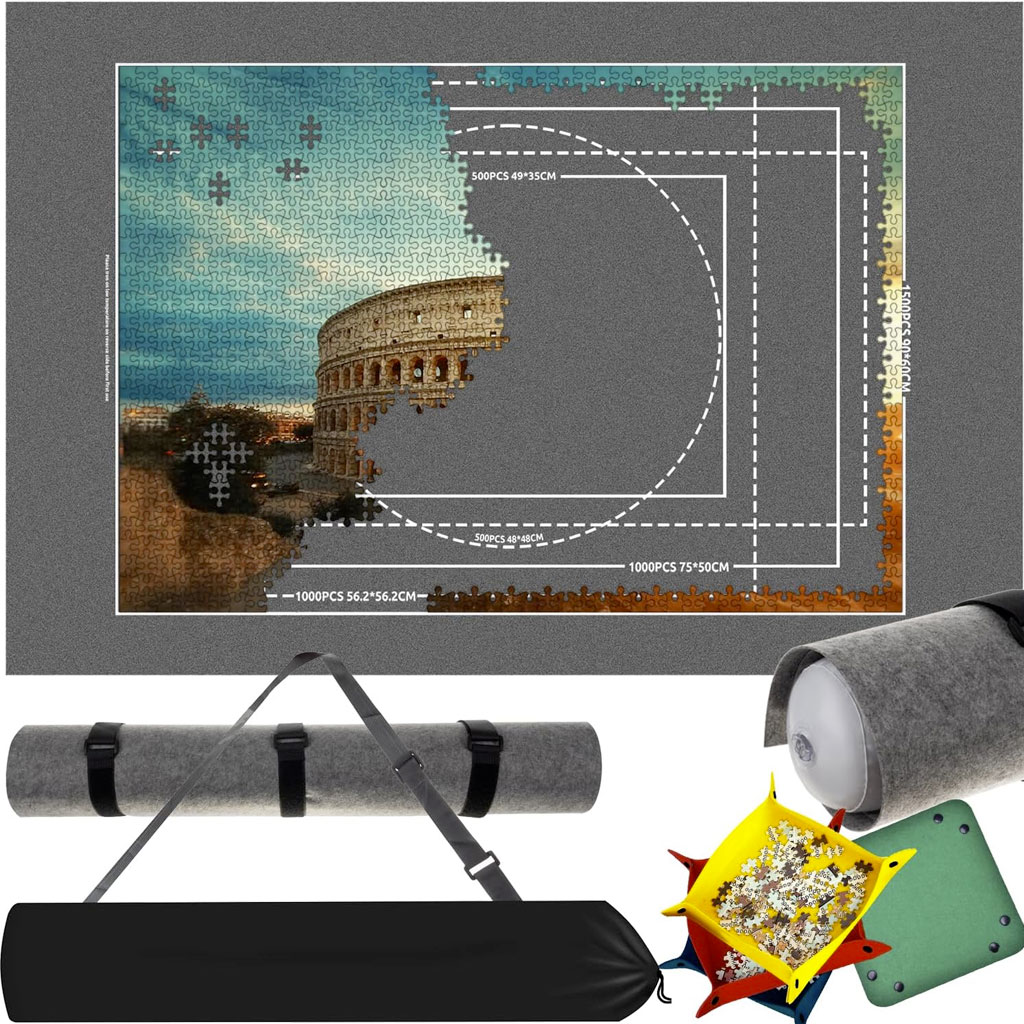
If you need the table for other activities, consider a puzzle mat for storage between sessions. Compare actual dimensions rather than piece count alone: the model with four sorting trays measures 115 × 67 cm. Check the usable area against your puzzle and follow its rolling instructions.
Turn some pieces picture-side up and separate a few useful groups: edges, a distinctive colour or details you recognise. You need not classify everything before trying a fit. An elaborate sorting system can use space and attention without bringing the image closer.
Keep an area for uncertain pieces: their clues may become understandable later. Avoid treating a guess as a final classification. Green pieces might belong to a lawn or a dress; keep them together until clearer outlines emerge. Low trays or clean box sections can help you see pieces. The organisation guide explores when colour, object, texture or shape is useful.
Every image begins with a small discovery.
Starting with the edges can reveal the image’s size. Look for straight sides and corners, comparing the picture as well: pieces with similar margins need not be neighbours. If the border has nearly identical colours, leave a section open and start with a clearer group elsewhere.
A recognisable object is another valid starting point. Assemble part of a building, face or lettering and keep it in an approximate position until you have enough references to place it. A correct fit agrees with the shape and picture continuity without force. If a line breaks across an apparent fit, gently separate the pieces and reconsider. Your initial aim is confidence in the clues rather than immediately finishing a whole section.
Before stopping, look at what you have built and where you would resume. Keep plausible candidates near a section without connecting them prematurely. Leave sorted groups understandable; a photograph can record the positions of disconnected sections.
Cover or store your work using a system compatible with its size. Support a board when moving it, and use a mat according to its instructions. Accessories handle assembled and loose pieces differently. Avoid improvised transfers when you have no suitable system. Leave a clear next question, such as finding the other side of a window, to make returning easier.
If the first group will not come together, reconsider the area. It may repeat, or contain pieces of the same colour from different objects. Narrow your search to an outline, brushstroke or colour transition. On a crowded table, clear a small area before adding more piles.
In a landscape with a large sky and a house, the house offers windows and edges you can check; tackle the sky once its position becomes clearer. Among leaves, a trunk or horizon can provide an anchor. Choose according to the image. Explore the full assembly process, or consult choosing a puzzle if you are still deciding on a format and subject.
Choose a first section that lets you check your interpretation of the picture. A window frame, lettering or a strong colour boundary may give more dependable references than a large area that merely seems easy. Compare the piece with the box image, then look for a neighbouring clue. The aim is to establish a small area you understand, not to commit to finishing every similar piece before moving on.
At the end of the first session, leave the table in a state that makes the next step clear. Keep uncertain candidates separate, protect the assembled sections and remember which feature you were following. Starting well includes being able to pause without losing your bearings.
Choose the next guide according to the question that matters to your project.
Adapt your approach to the image and consult any specific instructions supplied with your puzzle.
Nessun termine trovato.
Nessun termine trovato.
Nessun termine trovato.
Nessun termine trovato.