
Home / Puzzle guide: choose, complete and enjoy your puzzle / How to glue a puzzle
How to glue a puzzle starts before opening the adhesive. Decide whether you want a permanent result, check the completed picture and choose a product compatible with the material and mounting. Quantities, application sides, drying times and finishes depend on the product.
This guide organises checks and preparation alongside the manufacturer’s instructions. It mainly concerns traditional cardboard puzzles; wood, metallic effects and special surfaces may require other treatments. Consider removable mounting if you want to rebuild or lend it. Confirm compatibility before treating a valued image and ask when the label does not address your case.
Consider the criteria and adapt the approach to your project.
Weigh up the options and preserve what the experience means to you.
Inspect the full image and every uncertain connection. A broken line or uneven area deserves checking before fixing it permanently. Glue can make correcting a fit difficult or damage pieces.
Check cleanliness, actual dimensions and surface condition. Remove only debris that can be lifted without wetting, rubbing or altering the print. Assess damage before proceeding. Joining pieces does not necessarily provide the rigid support needed for display. Plan the mounting and consult puzzle or adhesive instructions for limits involving materials and finishes.
Use a flat, stable surface with space for the puzzle and the protection required by the adhesive. Glue may pass through joins or beyond edges. Protect the table with a non-stick material specified or compatible with the instructions.
Read the label and prepare its recommended applicator. Plan transfers using suitable support rather than lifting an edge. Choose somewhere the puzzle can remain undisturbed while drying and follow ventilation and access precautions. Keep framing tools separate: fixing and mounting are distinct stages.
The treatment side depends on the product: picture face, back or backing board. Confirm how it should be spread, which applicator to use and whether it changes the visible finish.
Use the stated quantity; excess or uneven application can affect the result. Avoid diluting ready-to-use glue or mixing adhesives unless explicitly instructed. Follow any second-application conditions and times rather than adding generic steps. Clarify missing instructions before treating an important puzzle. Declared compatibility matters more than previous use for other household tasks.
Choose the image’s future before fixing it.
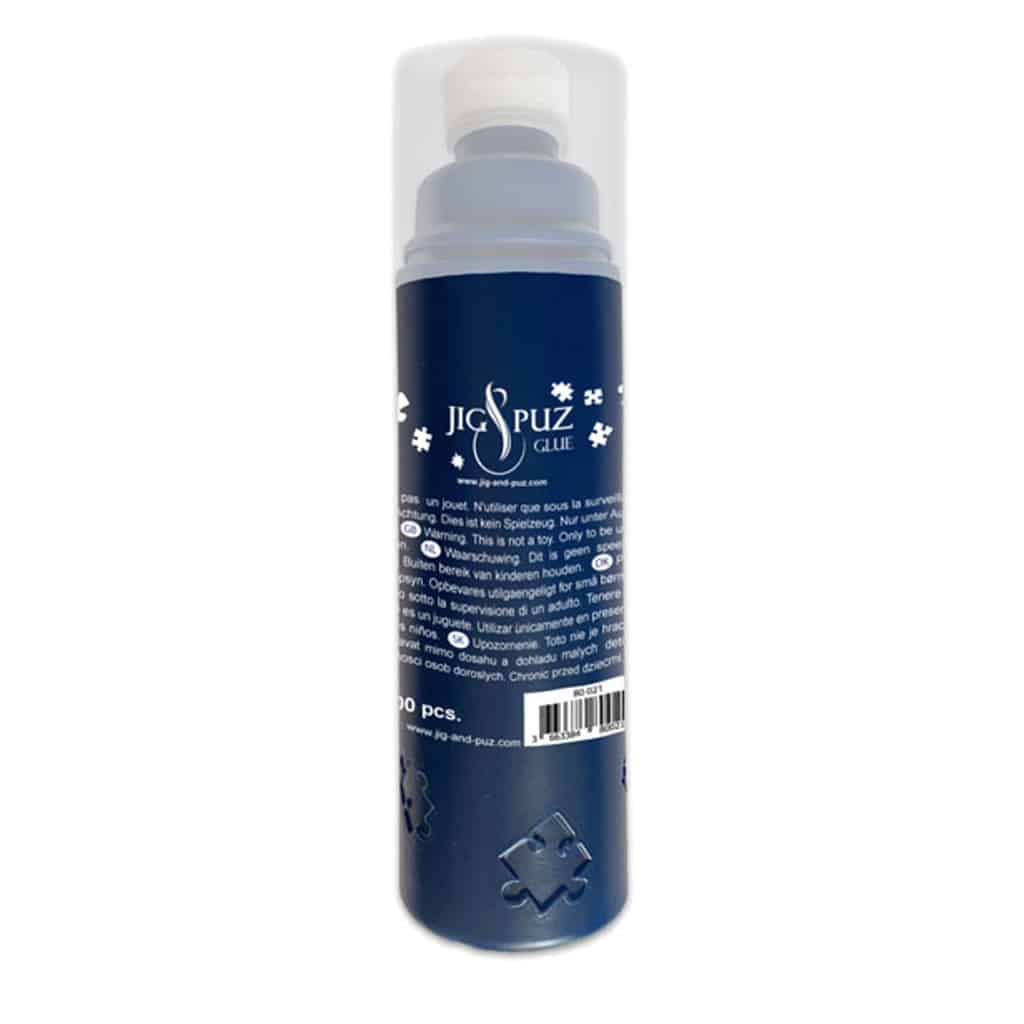
For permanent fixing, consider the 200 ml Jig & Puz puzzle glue. Check its packaging instructions and compatibility before applying it. Glue does not automatically replace a rigid backing or the fixings needed for display.
Drying depends on the adhesive and its stated conditions. A surface can feel dry before it is ready for moving or framing. Distinguish intervals between applications from the time needed before mounting.
Keep the puzzle on its prepared surface. Do not accelerate drying with heat, weights or other unapproved treatments: pressure can mark the finish. Ask about unclear instructions and avoid borrowing a drying time from another product. Plan enough undisturbed time, especially before gifting or transport.
Once treatment is complete according to the instructions, check how to support the puzzle during transfer. Joined pieces may still lack the rigidity for hanging. Mounting must account for weight, dimensions, thickness and the frame’s securing system.
Support the image rather than lifting a corner to test it. Attaching it to a board requires its own compatible adhesive; joining pieces and bonding a backing have different functions. Measure the complete assembly. Read how to frame a puzzle, and consider professional advice for large or unusual materials.
If compatibility is unclear, the finish is delicate or the image especially important, avoid experimenting on the whole surface. Keep it assembled temporarily while researching the mounting.
Compare options in storage and display. Follow the chosen adhesive and accessories’ instructions. Keep them until mounting is complete and note the product used for future care. Permanent fixing should suit the intended destination rather than merely clear the table quickly.
Read the instructions for the exact adhesive before arranging the work. A product name or a general recommendation cannot establish which side to treat, how much to apply or how long the result needs supporting. Check what materials and finishes it is intended for, and whether the instructions address the backing or mounting you plan to use. If the puzzle has a special surface, ask for clarification rather than assuming it behaves like ordinary printed cardboard.
Prepare the whole working area before opening the container. The completed picture needs a flat support, room around its edges and the surface protection specified for the product. Any transfer should already have a suitable method and equipment. Glue that reaches the table or sticks the puzzle to an unsuitable layer can create a problem before display even begins. Keep the application and drying area available for as long as the instructions require.
Check uncertain fits while they can still be corrected. Examine continuing lines, colour changes and alignment across adjoining pieces. Remove only loose debris that can be lifted without rubbing or wetting the printed surface. If the picture is damaged, glue is not automatically a repair. Consider whether fixing it permanently matches your intention, particularly if you may want to rebuild it or preserve the edition as a complete boxed puzzle.
After treatment, follow the specified checks before moving or mounting the result. A joined picture still needs the support required by its size and chosen display system. Do not interpret a dry-looking surface as evidence that every stage of the product’s instructions is complete. If the final arrangement remains uncertain, keep the puzzle supported and seek advice on compatible backing and framing. Planning the whole construction makes gluing a considered part of the project, rather than a shortcut to hanging it.
Keep the adhesive container and instructions available after application. They provide the relevant checks for handling and the next mounting stage. If the result behaves unexpectedly, stop before adding another material in an attempt to correct it. Explain the exact puzzle surface, product and stage involved when asking for advice. That gives the manufacturer or framer something concrete to assess, while avoiding a chain of improvised treatments that is harder to undo.
Choose the next guide according to the question that matters to your project.
Before using glue, backing boards or accessories, check that they suit your puzzle and follow the instructions on the packaging.
Nessun termine trovato.
Nessun termine trovato.
Nessun termine trovato.
Nessun termine trovato.